Recording and mixing
Gear
Well, after hours of recording and mixing, we think you would be happy to learn with us about recording and mixing. You’ve certainly read lots of articles and watched hundreds of videos, anyway these are our advices and return of experience.
Chose your DAW carefully

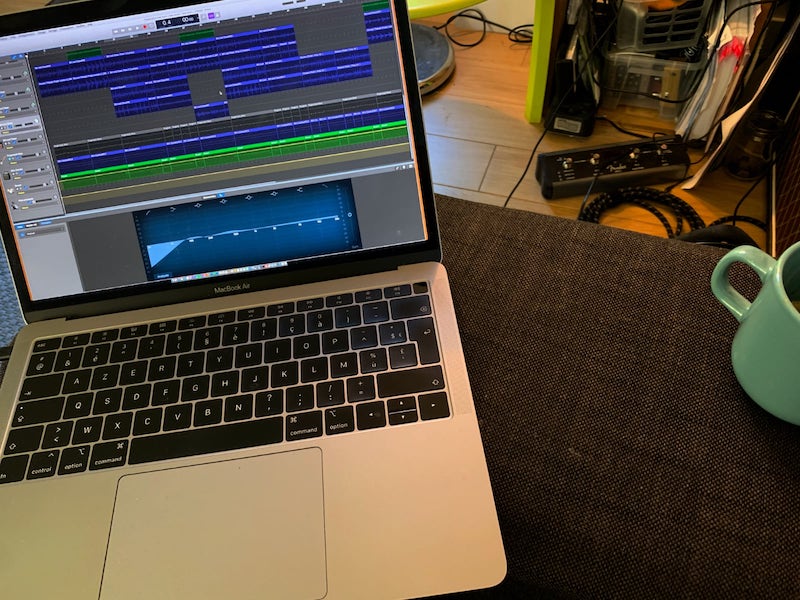
This is just a joke. We started music with 4-tracks cassette recorders, so using GarageBand or even cheap digital recorders is a best choice for us. The DAW will not alter your music, unless it could not handle 24bits recording. Remember that our preferred albums where recorded on devices you would not even consider to create a demo track! Well, we’re Apple fans, so GB is pretty good, Logic is even better, but also Ableton, ProTools, Audacity… the most important is to perfectly know your tool, and to admit that you will sometimes discover features you did not know, leading to re-open your old recordings and work, again and again.
Chose your audio interface carefully

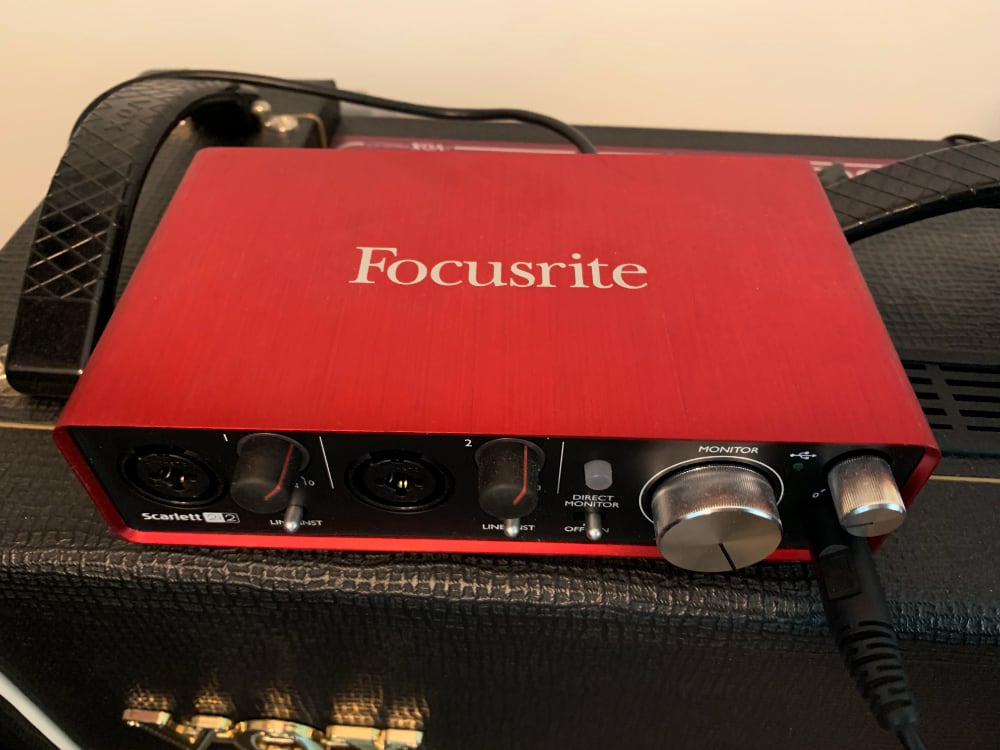
Very low latency and 24bits sampling at a high frequency are mandatory. Other features are interesting, such as microphone preamp, number of instrument inputs, midi in/out, 48v power supply… Chose what you need, but just keep in mind that any modern non-cheap audio interface will make you happy, and unfortunately if you have an old one you should avoid using it. Non-cheap means don’t make your choice on low price only, or you’ll have, forever, a bad sound quality. Even if you only plan to record a few demos, chose a model recognized by the community. We, at WalrusPark, all own Focusrite Scarlett interfaces. There might be others, but, you know, satisfaction matters.
If you plan to use a dedicated interface, ie an USB microphone or a guitar/bass/piano preamp with Direct Input function, then once again chose it carefully, first because you lose versatility, so be sure to gain quality, and second because it won’t let you modify the sound after recording (this is true for instrument preamps, not for vocal recording). Be really aware of what you’re doing with your instrument preamp, especially if you have inserted or built-in effects: once recorded, you won’t be able to change the recorded sound.
Find the sound… or not
There will always be a debate about pre or post-processing your analog signals.
Pre-processing means you put all your effects on the signal chain before the input of the audio interface (or inside the numeric preamp).
- Pros: you know your sound, you can use your favorite amp, the same effects than you use on stage.
- Cons: the wet signal cannot be dried after recording. If you’re not happy with the level of drive, delay or reverb, there nothing to do other than record again.
Post-processing means you record the driest signal from your voice or instrument, then you apply the effects and patches using the DAW.
- Pros: you can post-process the sound even if your final mix has begun, adjusting the delay or reverb level (very important), choosing between lots of plugins and special effects that your DAW or third parties editors will provide.
- Cons: well, this is all modelized, and your sound might lose its own personality.
Our advice: unless you know what to do or you’re a pro of audio recording and master your Helix or Kemper gear, chose the post-processing option. Record only the dry signal without any effect, then apply effects using the modelized ones in the DAW.
Prepare recording
Tune your guitar or bass every 10 minutes

This time we’re not joking. Even if some DAWs authorize tone correction after recording, you won’t be able to change a single note of a repeating chord in a song. So tune, tune, and tune again, you will lose less time than you think. Do it every 10 or 15 minutes, or better, let the built-in tuner of your DAW always on, and keep an eye on it.
Warm-up
Warm-up your voice, warm-up your fingers, warm-up your ears. Don’t imagine recording with success during the first 15 minutes of your session. I cannot play complex guitar solos before at least 20 to 30 minutes of standard playing and exercises on scales and rhythm patterns. During the warm-up, train yourself to sing and/or play over your music, you’ll find the best tricks and new notes or sounds you did not think about before.
Be quiet
Take your time, and don’t be afraid by the time that passes. Even if you’re alone in the (home)studio, a recording session cannot be reduced to less than 1, or 1 and a half hour. Warm-up
Set the rhythm
If your drums track is not ready, or if the drummer will record live drums, use a metronome or a repeated rhythmic pattern that fits to your song, to fix the rhythm and avoid losing the start or the end of bars when recording.
Record
Adjust the recording level

Just one key number: 75% (beginning of the orange zone of the vue-meter). Your average signal strength should be between 65 and 75%.
Record again and again
This is the most important point. Once you think you’re ready to record, turn on the record function on the DAW, then play along your tracks, and record again and again. Use loops and virtual tracks features if you can, your record will become more comfortable to play and to hear if you play along long portions of music. Recording small pieces of music because the track is difficult to play will lower the quality of your final mix. If you’re not ready to record one of these long sequences of 30 or even 60 seconds, then it’s not time to finalize the track… work more, and reopen a new recording session later. Also, don’t fear the re-recording of sequences that were quite - but not completely - satisfying. If a single note is not perfect, restart your record. Don’t lower the level of quality because you’re upset by these repetitions of recording. Be quiet!
Multiply tracks
During the recording sessions, some tracks might sound good, but you know you can do better. Don’t throw it away. Save it by duplicating or tagging the v-track, and start another track, you’ll come back later on it. Maybe you will see what you could have improved, or that it is not good but… perfect. Even cheap DAWs can handle hundreds of tracks, so don’t care and multiply them.
Don’t mix during recording
OK, you will have the temptation to take a look at how it sounds, even during recording. But don’t do it too much. Keep recording hardly, and when you’ve finished, have a break, and then listen to the (beginning of) result. If you think listening too much a pre-mix will give you ideas about what to record, then you’re not ready to record, and that’s part of the creation phase: have (another) break, relax, listen to your music and find the next bars quietly with your instrument in front of you.
Mix - the effects
Here you are! All the tracks are recorded, you’re ready to proceed the the final mix.
Drums
First, reorder and rearrange your drums, if you did not record them live. There must be breaks missing, transitions, etc. Keep in mind that pop/rock music place the drums in high position. If you’ve recorded jazz, this is not true: the bass is the rhythm, so create your drums track like series of improvisations.
Bass
I often adjust the level and effects of the bass track just after having completed the drums, because these two tracks make the rhythm part of the final mix.
Voices
You created voice tracks? Work on them: adjust the reverb level (not too much, because the mastering phase will probably add more reverb), the different effects.
Rhythm guitar(s), keyboard(s) and piano
The structure of your song should be created by these instruments. There also, don’t put too much reverb or delay effects. They should be transparent, they have to be here, but not too much. People listen to the voices, and hear the rest of the tracks. Think of rhythm tracks as backing tracks, even if you worked hard on them.
Guitar, piano, bass, sax, trumpet (…) solo
Like voices, solo parts of your song should retain attention of the listener. This time, you can add delay and reverb effects quite as much as you need, and once you think you’re done, mix the effects levels a bit higher. Yes, listen carefully to your favorite songs: the solo parts are not really high in volume, but they are often very wet.
Mix - balance and levels
Volume of tracks
First, lower all volumes of the tracks. Start around 50%, and increase the ones you need. If your DAW has automation functionalities, use it to cut the volume every time you need, and remember adding very short fade-ins when an instrument or voice starts again. Don’t push to high to make an instrument get out of the mix, this is the role of the equalization phase.
Equalization of tracks

Equalization is the only way to make a track “get out” of the mix. The volume level is quite not useful, but the eq, yes. The most important, like in live situations, is to give every component of your song a place in the frequency distribution in the mix. Be sure to place every track in the center of the balance, to avoid being influenced by spatial distribution of the signal. What counts here is the frequency distribution.
Balance of tracks
If you’re happy with the previous settings, then you can play with the balance knobs of each track. This should be done only at this moment, otherwise, because you’re working with stereo equipment, your judgement will not be trustful. I mean, when listening to stereo but unmixed music, you clearly hear every track. But once listened on mono equipment (small speakers, phone speakers), this bad mix doesn’t sound at all, and everything is scrambled.
Pre-mastering
You’re quite done. Pre-mastering means you are ready to generate a 32 or 24bits 192KHz stereo track of your song. Just take a final look at all effects and equalization, then apply the last series of effects: small delay, a bit of reverb, a touch of equalization, and then you’re done. Don’t use compression algorithm, they’re part of the master phase.
Master
Not today!